
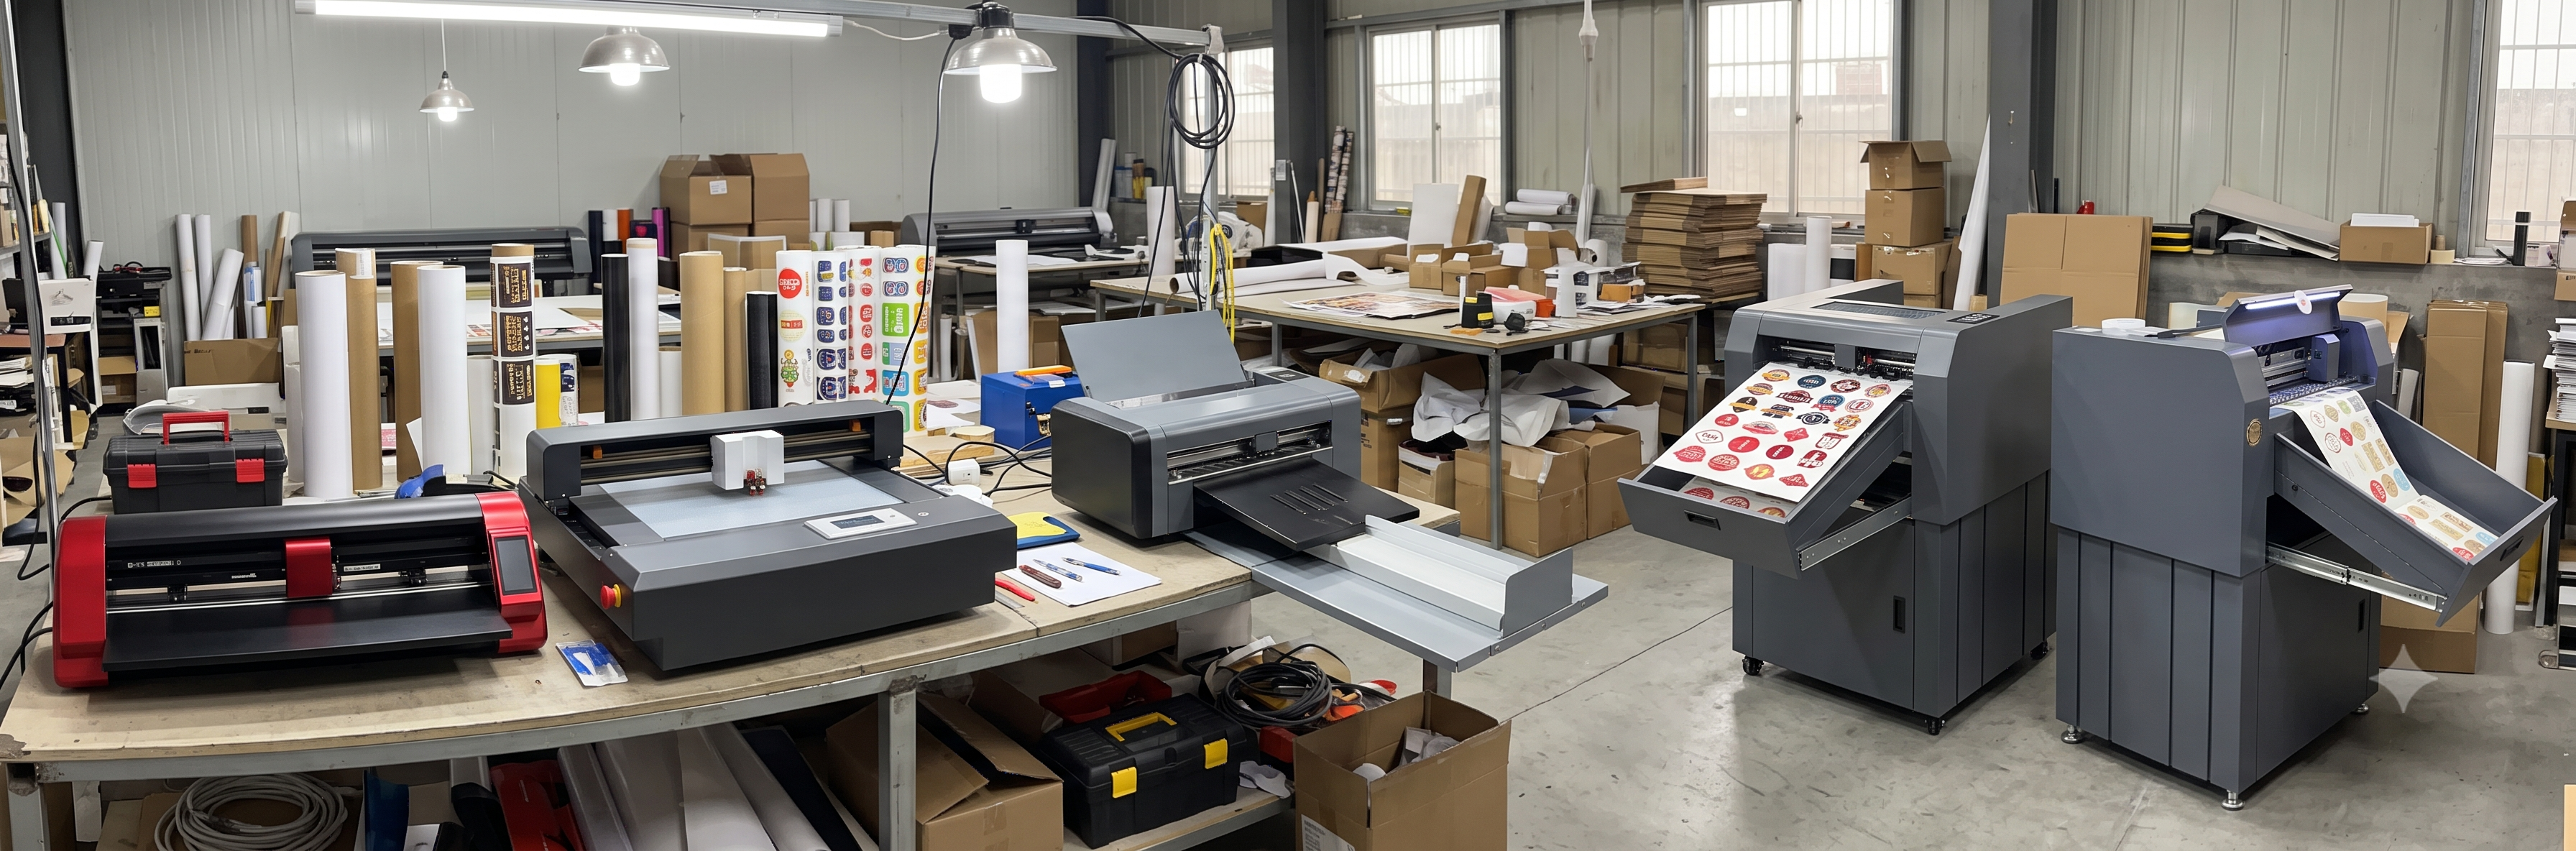
Is a dual head cutting plotter right for you?
A dual head cutting plotter carries two tool stations in the carriage, so it can cut and crease, or cut and draw, in one pass. It is the standard machine for die-less box making, packaging mockups, and complex print and cut work. If your shop only cuts vinyl stickers, a single head plotter is enough. If you take box, packaging, or sample-making orders, the dual head pays for itself fast.
| Your work | Right machine |
|---|---|
| Stickers, labels, HTV, simple vinyl cutting | Single head cutting plotter |
| Boxes, cartons, packaging mockups, samples | Dual head cutting plotter (blade + crease) |
| Print and cut stickers with registration marks | Either — check for ARMS / optical eye |
| Mixed jobs — boxes plus stickers plus stencils | Dual head cutting plotter |
Cut + Crease
Die-less box making in one pass.
Cut + Draw
Pen or marker in the second station.
Two Blades
Different angles or kiss-cut setups.
What Is a Dual Head Cutting Plotter?
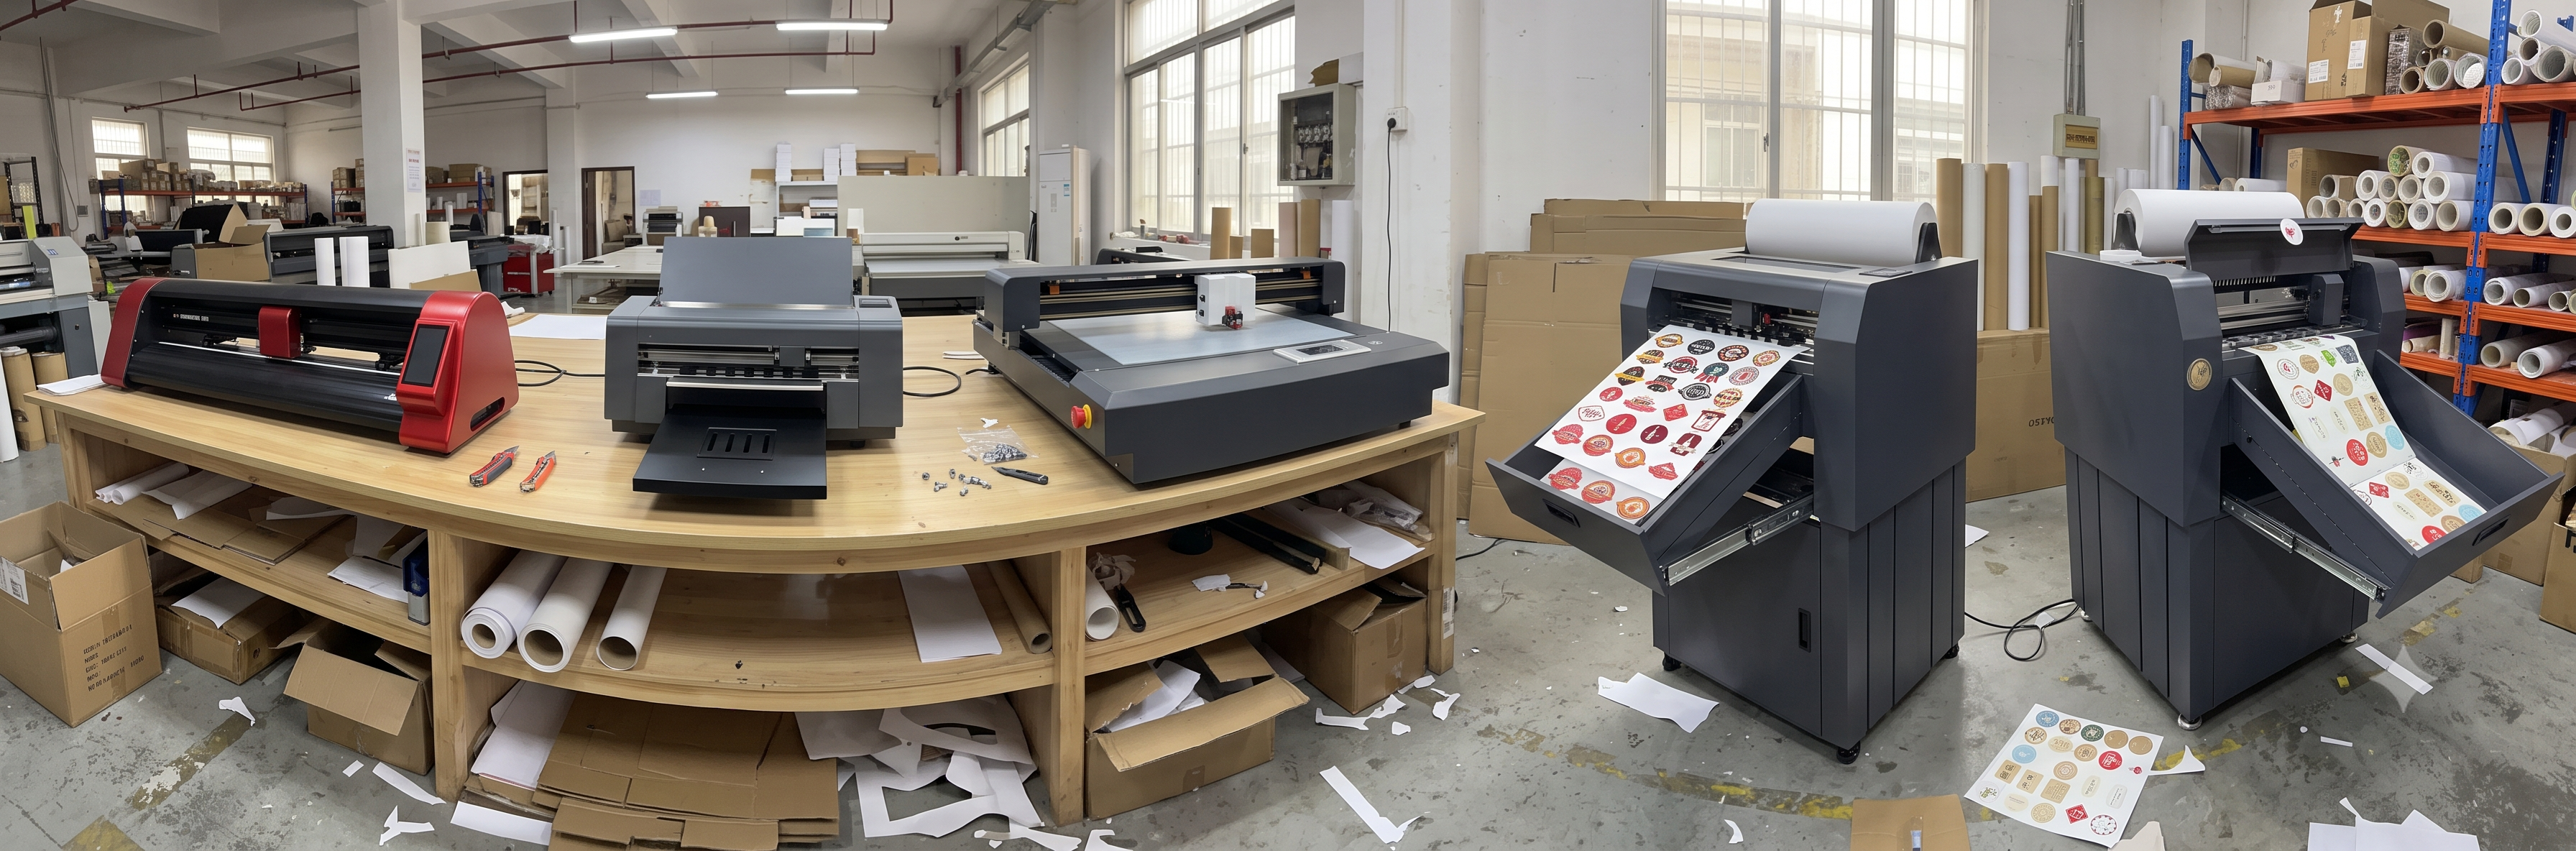
Two tools, one pass
A normal cutting plotter holds one tool, so cutting and creasing a box means running the job twice with a tool change in between. A dual head cutting plotter holds two tools at once. The software tags each line as Cut or Crease, and the machine runs both in a single pass — crease lines in the first station, cut lines in the second.
- Two tool stations in the carriage, one or two independent holders
- Software assigns strokes to head 1 or head 2 by line colour or layer
- Halves job time on boxes and eliminates alignment errors between passes
- The second station also accepts pens, creasing tips, or a second blade
The machine is still a plotter at heart — pinch rollers, a grit shaft, a cutting strip, and an ARMS optical eye on print and cut models. The dual head changes what you can do in one run, not the basics.
Best for: packaging units, box makers, print shops adding die-less samples, and sticker shops that want kiss-cut and through-cut in one pass.
How the Dual Head Works: Tool Combinations That Matter
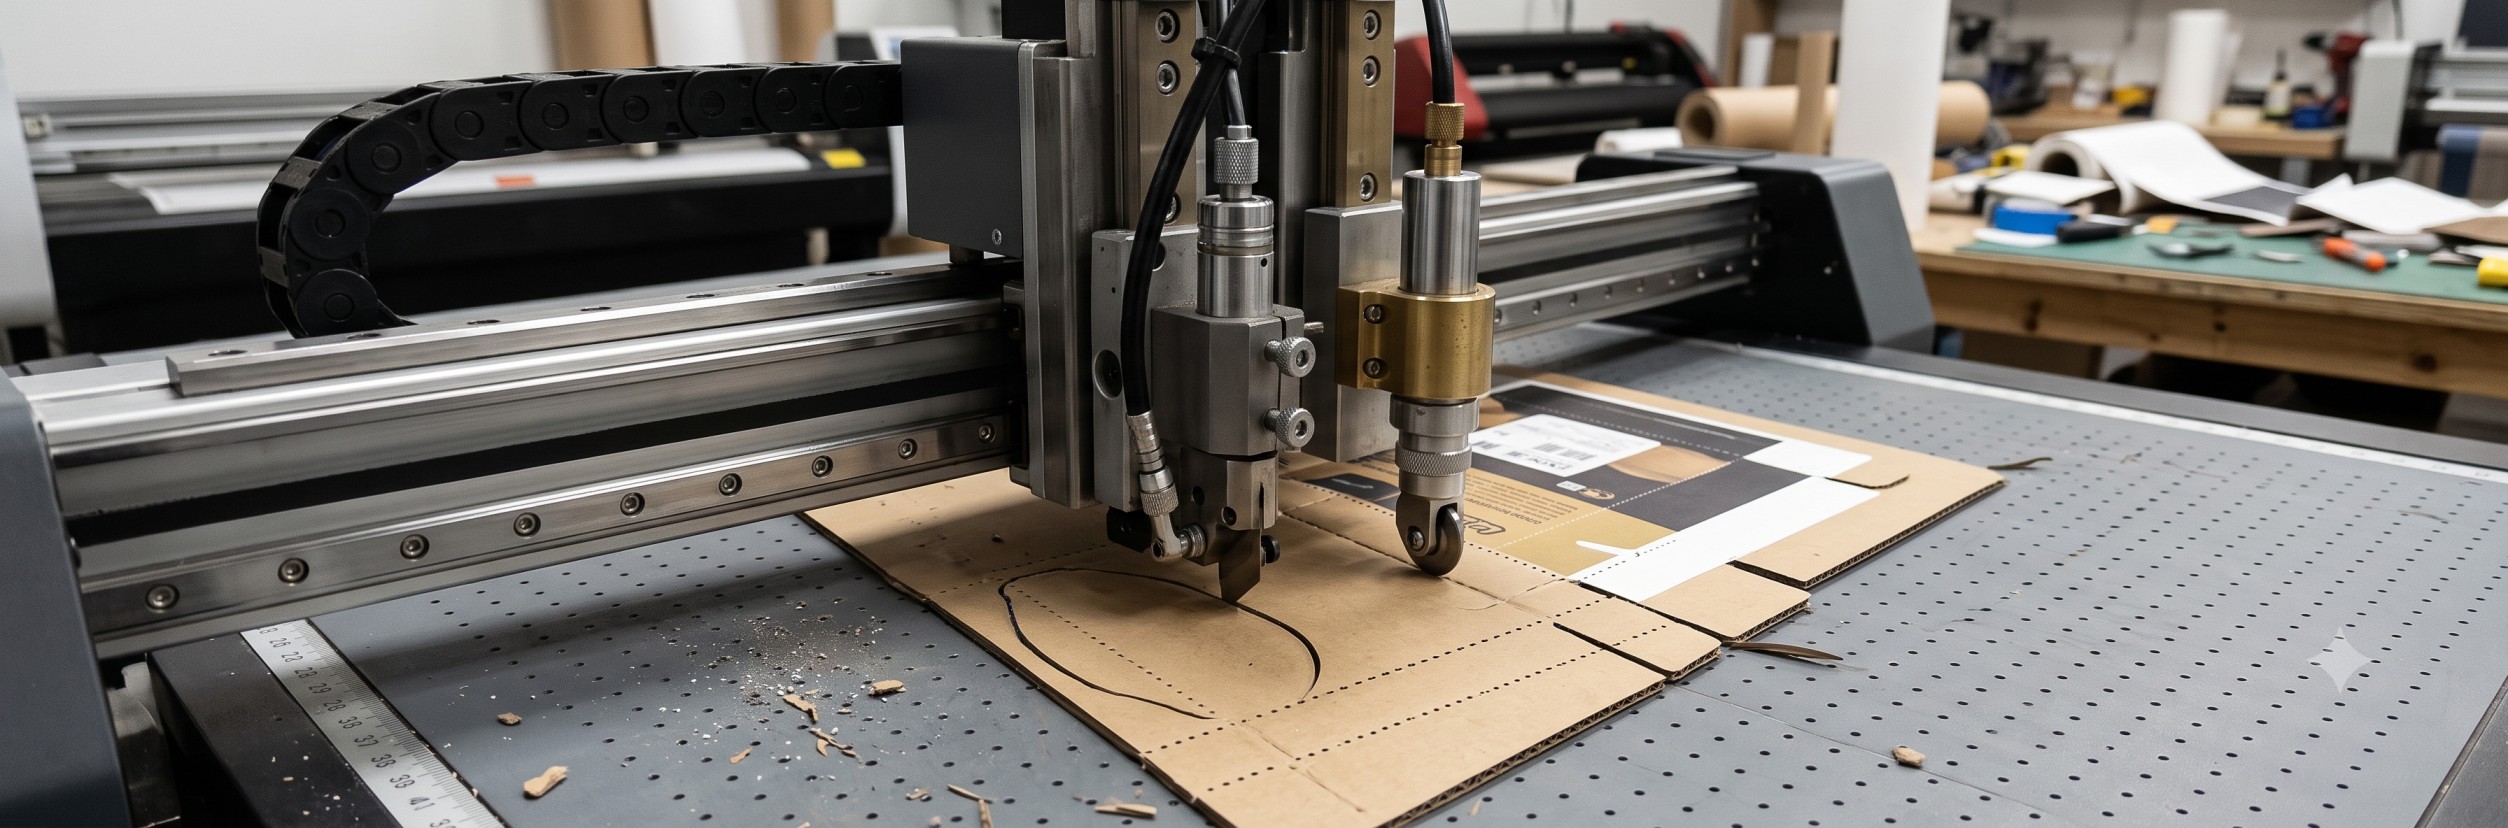
The three useful pairings
Both stations accept the standard 2 mm shank tool family, so swapping combinations takes seconds. These are the pairings that earn money in real shops.
- Blade + Creasing tip: the box-making combo. Head 1 creases fold lines, head 2 cuts the outline. Works on 250–600 gsm duplex, kraft, and corrugated board depending on force.
- Blade + Pen: draws guidelines, branding, or registration aids while cutting. Useful for sampling and proofing before full runs.
- Blade + Blade: two blade angles at once — for example kiss-cut in head 1 and through-cut in head 2 for sticker sheets, or 45° and 60° blades for mixed material jobs.
Set-up detail: in the software, assign stroke colours — say red lines to head 1 and black to head 2. Draw the crease and cut lines on separate layers, and the machine sorts the rest. Once your templates are built, every future box is a file-and-press job.
Best for: any job that needs two operations on one sheet — the dual head does both without a tool swap.
What You Can Make With a Dual Head Cutting Plotter
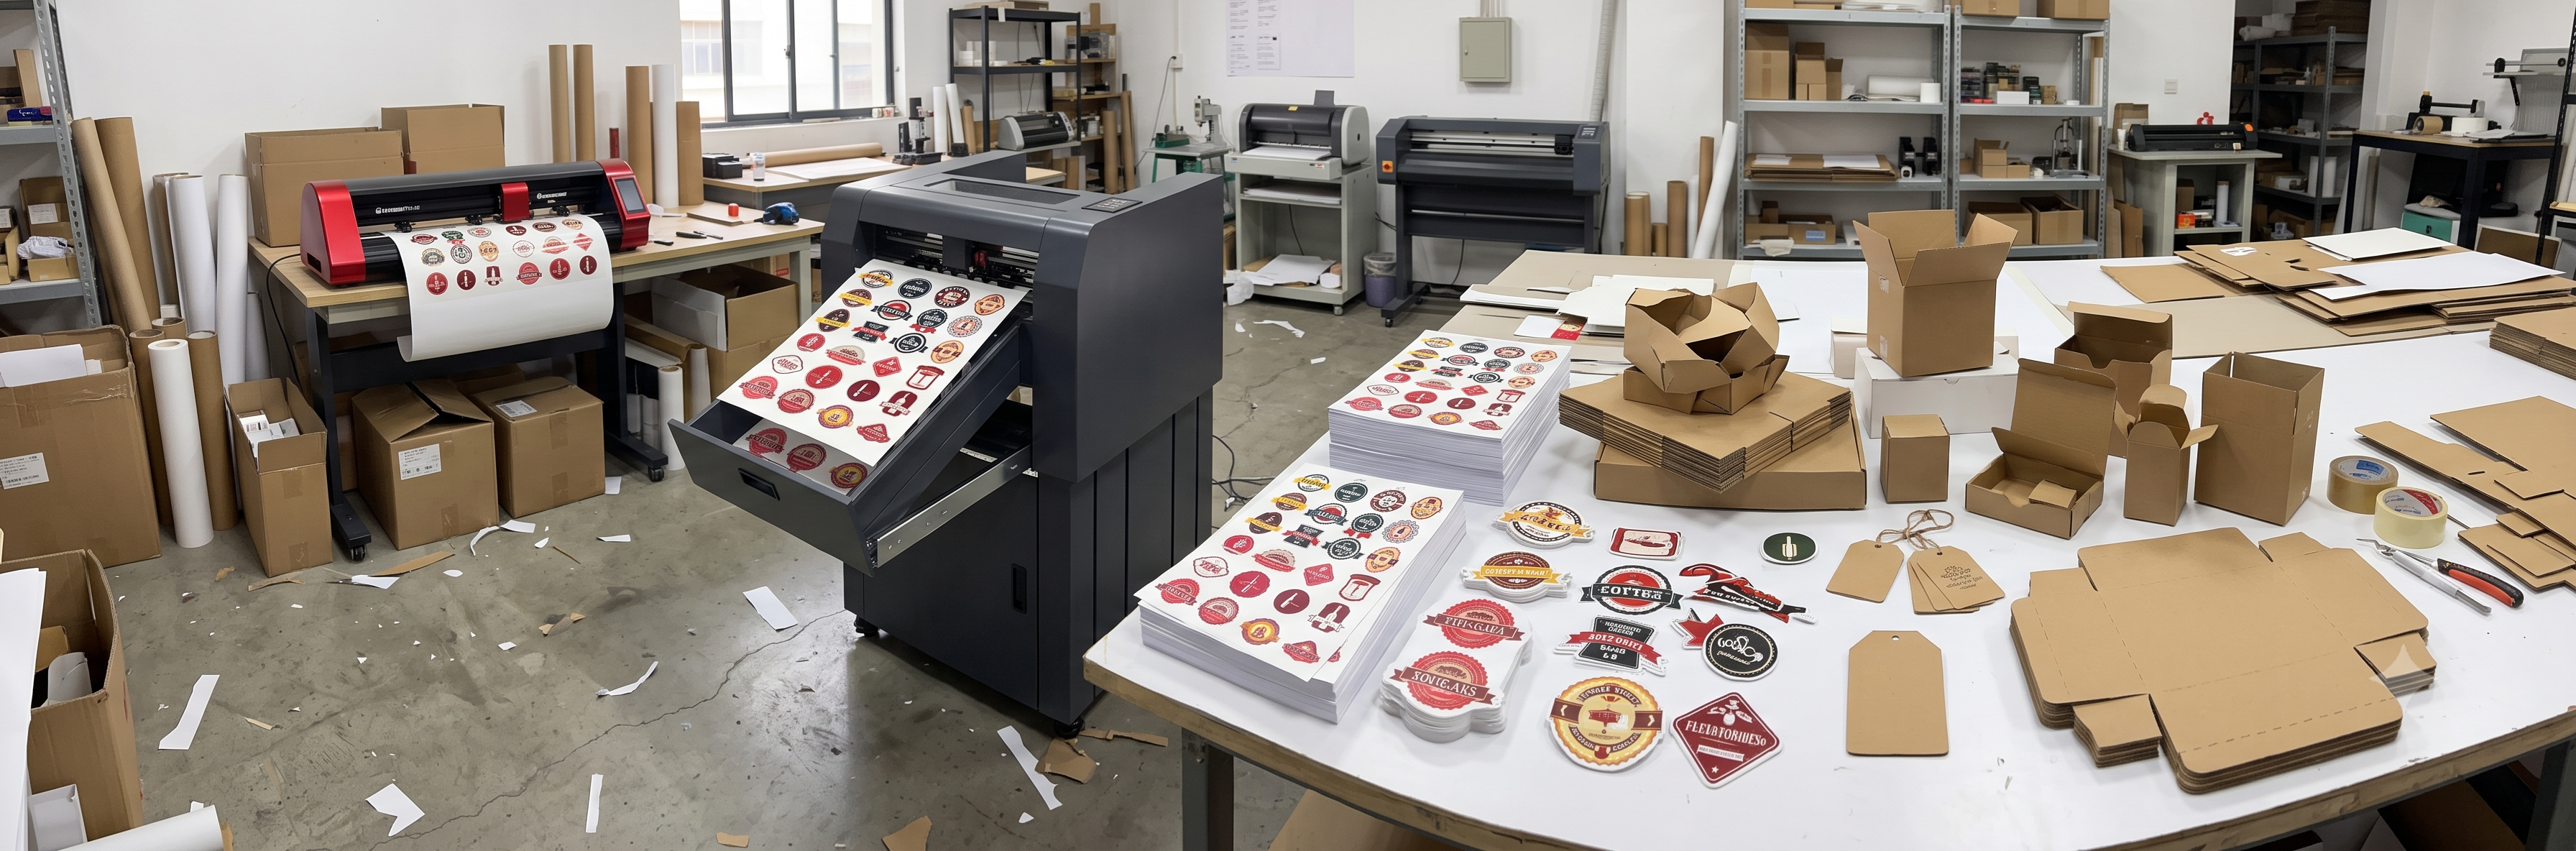
Where dual head machines earn
Die-less cutting is the headline use: sample boxes and short-run packaging without paying for a die every time a client changes the design. The other jobs pay the daily bills.
- Die-less box making: cartons, sleeves, mailers, display boxes — cut and creased in one pass
- Packaging mockups: client samples in hours, not days waiting on a die
- Print and cut stickers: with the ARMS optical eye reading registration marks
- Kiss-cut sheets: sticker sheets with through-cut backing in one pass using two blades
- Stencils and templates: sandblast stencil, painting stencils, garment templates
- HTV and apparel: names, numbers, and custom vinyl transfers
Material note: cutting force decides the board range. Machines with roughly 500 g of force handle paper and light card; higher-force machines take duplex and thin corrugated. Check the force spec against the board you actually sell.
Best for: print shops, packaging studios, sign shops, and sticker makers who want one machine that covers samples and production.
Specs that matter on a dual head cutting plotter
Brochures list dozens of numbers. These five decide whether a machine fits your work.
| Spec | Why it matters | What to check |
|---|---|---|
| Cutting width | Size of sheets and boxes you can run | Common: 24 in, 34 in, 44 in bed widths |
| Cutting force | Board thickness the machine can cut | Up to ~500 g suits card; higher force for duplex and corrugated |
| Cutting speed | Daily output on long jobs | Higher speed helps production runs more than samples |
| ARMS / optical eye | Print and cut accuracy | Essential if you cut printed stickers or labels |
| Software | How easily dual head jobs are set up | Layer or colour-based tool assignment, box template library |
Quick rules
- Match the bed width to your sheet stock — a 24 in machine cannot cut a 30 in wide box blank.
- If packaging is the goal, test cut your actual board gsm before buying, not a demo sheet.
- Confirm the dual head software assignment is included — some bundles ship with single-head-only drivers.
- Check the creasing tool type — a blunt tip embosses wide lines that fold cleanly on board.
Dual head vs single head cutting plotter
| Feature | Dual head plotter | Single head plotter |
|---|---|---|
| Cut + crease in one pass | Yes | No, two passes with tool change |
| Box and packaging work | Native use | Possible but slow and error-prone |
| Sticker and vinyl cutting | Yes | Yes |
| Kiss-cut + through-cut together | Yes, two blades | No, two passes |
| Price | Higher | Lower |
| Best for | Packaging, samples, mixed shops | Pure sticker and vinyl shops |
The honest math: if box and sample jobs come in even once a week, the time saved on two-pass jobs and tool changes covers the price difference within months. If they never come in, buy single head and spend the difference on blades and strips.
Dual head cutting plotters available in India
Indian shops usually meet dual head machines in two width classes. Match the width to your board and sticker stock before comparing brands.
| Class | Cutting width | Typical use | Tool setup |
|---|---|---|---|
| Compact dual head | ~24 in | Sticker sheets, small boxes, labels | Blade + blade, blade + pen |
| Wide dual head | ~34 in and up | Cartons, sleeves, packaging mockups, display work | Blade + crease, blade + blade |
What to check before you buy
- Both tool stations on the machine you are quoted — some models sell the second holder as an accessory
- Creasing tip included in the package, not priced as a spare
- ARMS contour eye if print and cut is part of your plan
- Software licence with dual head assignment and box template support
- Spare blades, strips, and pinch rollers available locally — wear parts decide uptime
- Demo on your own board gsm and your own sticker file before payment
A simple start: a 24 in dual head with blade + blade covers sticker sheets and small packaging; add the 34 in class when carton work becomes regular.
How to choose and set up a dual head cutting plotter
- List your jobs. Stickers only points to single head. Boxes, samples, or mixed work points to dual head.
- Match the width. Measure the largest sheet you run and add margin — the bed must fit the sheet, not the other way round.
- Check the force against your board. Take your heaviest packaging board to the demo and cut it.
- Test the software flow. Build one box file in the demo: crease layer to head 1, cut layer to head 2, run it end to end.
- Confirm the ARMS eye if you print and cut. Cut your own printed file, not the showroom demo.
- Count the wear parts. Blades, creasing tips, strips, and pinch rollers should be in stock with your supplier.
- Plan the first month. Build reusable templates for your top five box sizes — that is where the dual head saves the most time.