
Is an auto feeder cutting plotter right for you?
An auto feeder cutting plotter pulls vinyl from the roll automatically between jobs and winds finished work onto a take-up reel. One operator loads the roll, queues the files, and the machine cuts continuously — often unattended. If your shop runs long repeated jobs, bulk stickers, or long banner work, the auto feeder saves hours every day. If you cut a few small sheets daily, a standard plotter is enough.
| Your cutting work | Right machine |
|---|---|
| Bulk stickers, hundreds of copies of one design | Auto feeder cutting plotter |
| Long vinyl runs, continuous HTV and label output | Auto feeder with take-up reel |
| Print and cut in long batches | Auto feeder + ARMS optical eye |
| Few small sheets a day, mixed short jobs | Standard cutting plotter |
Auto feed
Vinyl feeds itself between jobs.
Take-up reel
Finished work winds off neatly.
Unattended runs
Queue and walk away — machine works.
What Is an Auto Feeder Cutting Plotter?
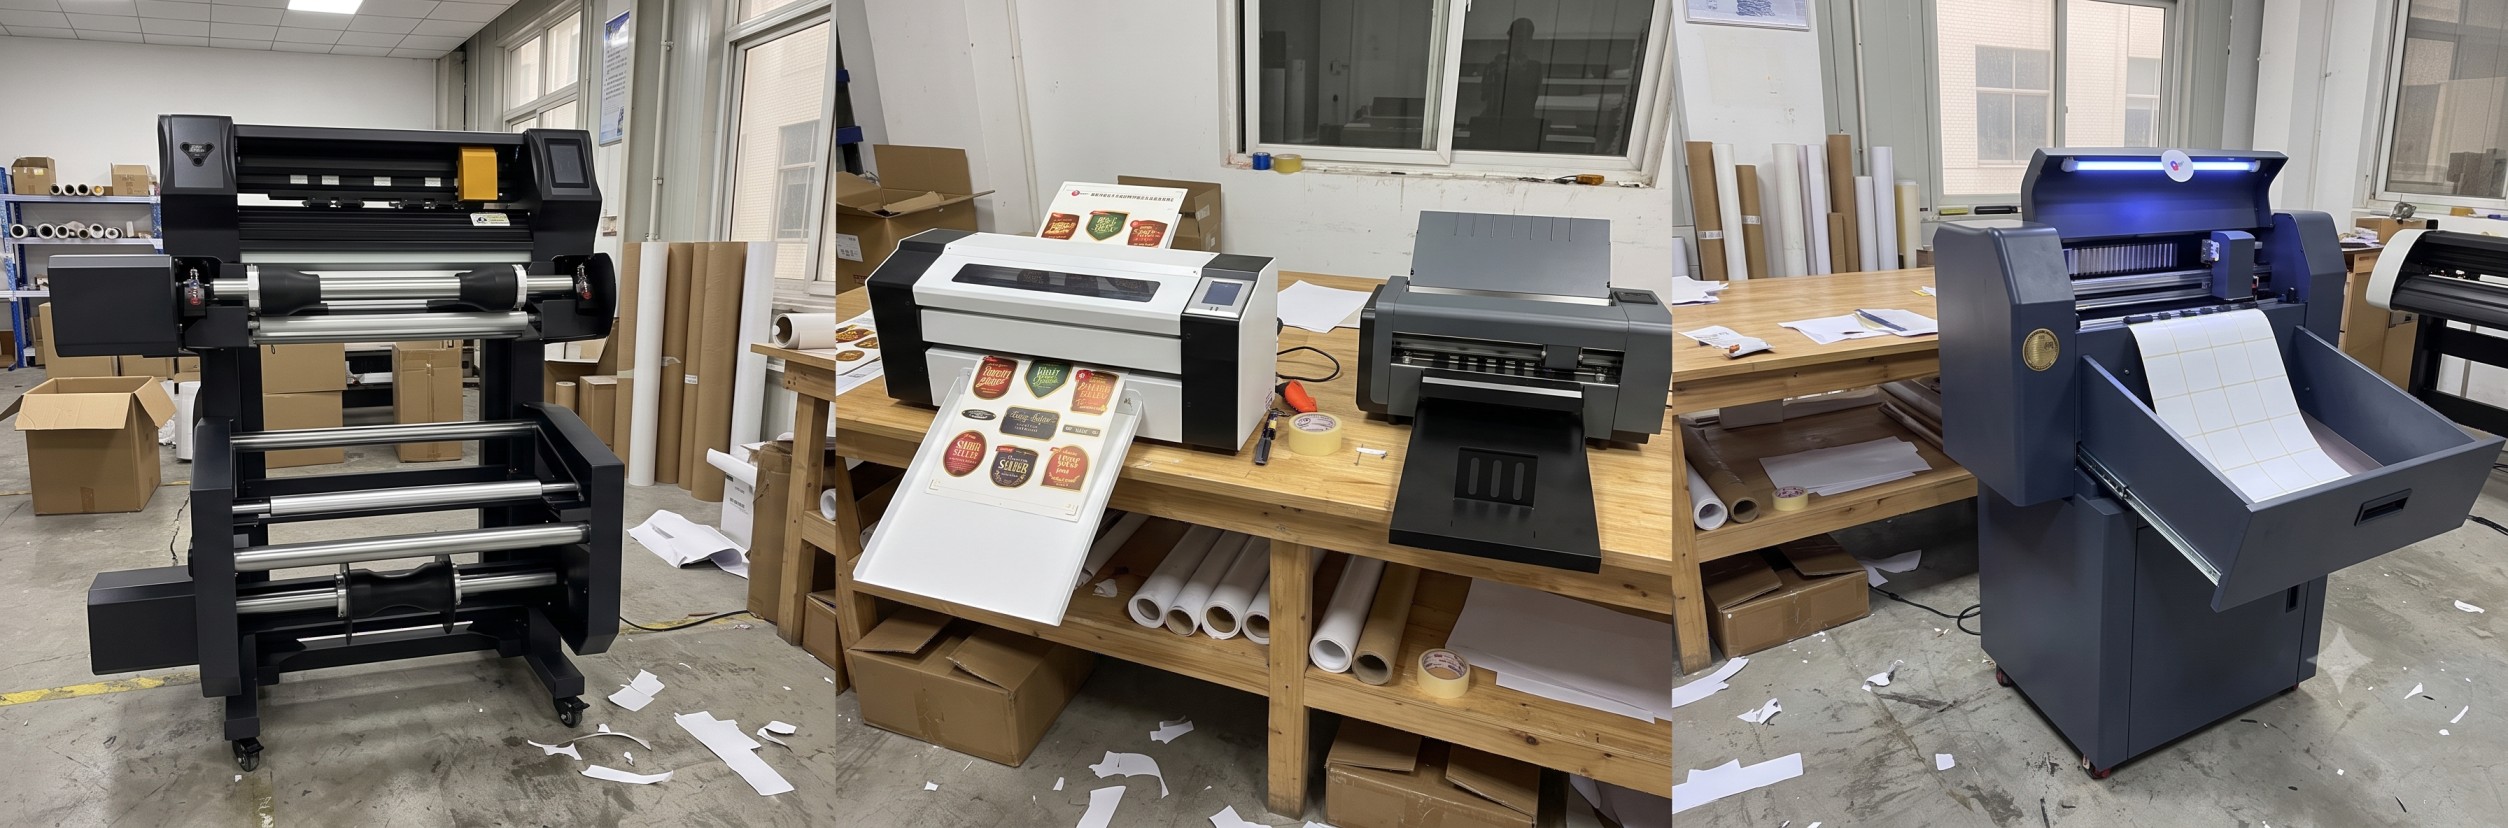
A plotter that manages its own material
On a standard cutting plotter, the operator manually pulls vinyl forward for every job, lines it up, and removes finished pieces by hand. An auto feeder cutting plotter adds an automatic feed system: the machine advances the vinyl from the roll on its own, cuts the job, and a take-up reel winds the cut work or backing away cleanly. The operator's job shrinks to loading the roll and queuing files.
- Automatic vinyl feeding between jobs — no manual repositioning
- Take-up reel collects finished work or backing without snags
- Continuous repeat cutting — one design or a full queue, back to back
- Consistent alignment job after job, with fewer handling errors
The cutting head, blades, strips, and pinch rollers work exactly like a standard plotter. The auto feeder changes the material handling, and material handling is where the hours go in a busy shop.
Best for: sticker producers, label makers, HTV applicators, and any shop where cutting volume is the daily bottleneck.
How Auto Feeding and Take-Up Works in One Cycle
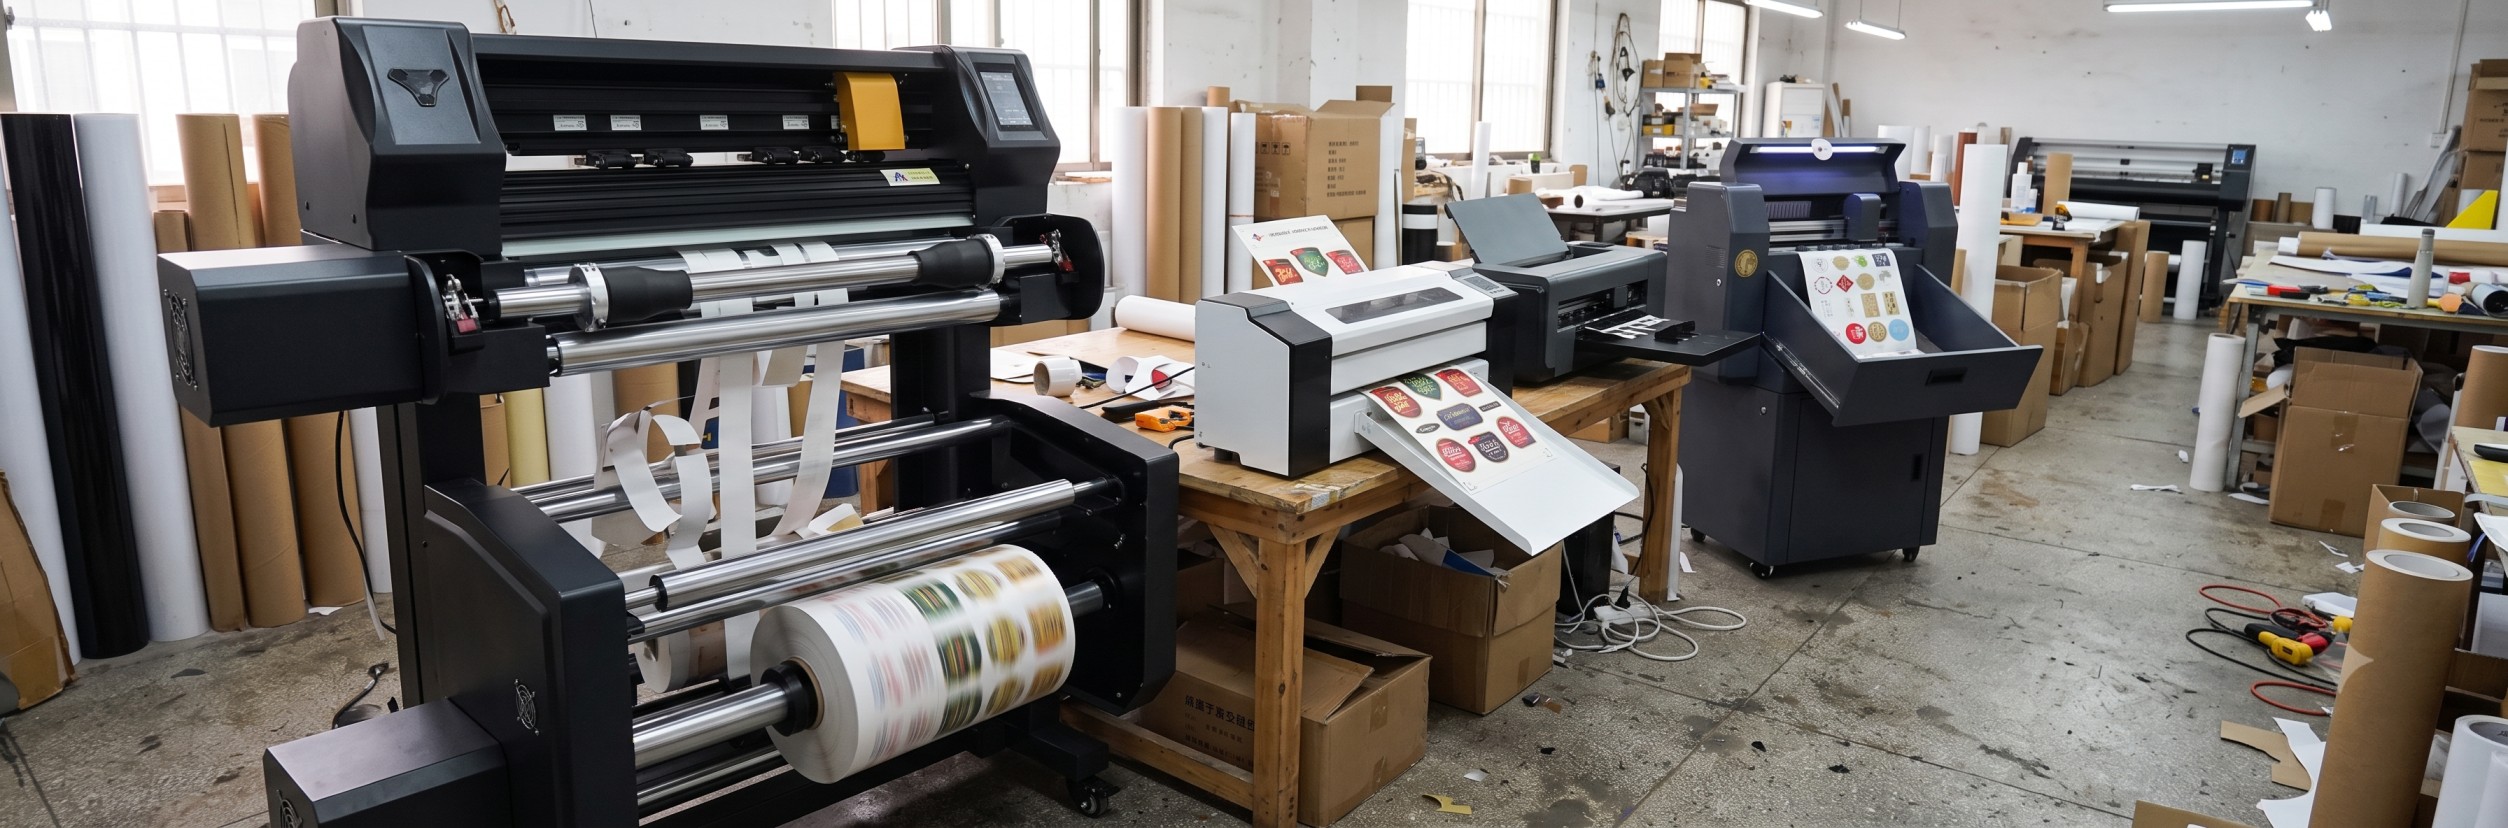
The repeat cycle
The auto feeder works as a loop. Understanding the loop shows you where the time savings come from.
- Step 1 — Load: mount the vinyl roll on the feeder cradle and thread it through to the pinch rollers once
- Step 2 — Queue: send one design or a batch list from the software
- Step 3 — Cut: the machine cuts the job like any plotter, at full force and speed
- Step 4 — Advance: the auto feeder pulls fresh vinyl forward to the next start position automatically
- Step 5 — Take up: the reel winds the cut pieces and backing away, keeping the path clear
- Step 6 — Repeat: the cycle continues until the queue or the roll ends
The operator walks away for cups of tea, other machines, or the next customer — the plotter keeps cutting. A stack of sticker jobs that takes a full afternoon of manual feeding often finishes by lunch on auto.
Best for: keeping one operator productive across two machines instead of babysitting one.
Best Jobs for an Auto Feeder Cutting Plotter
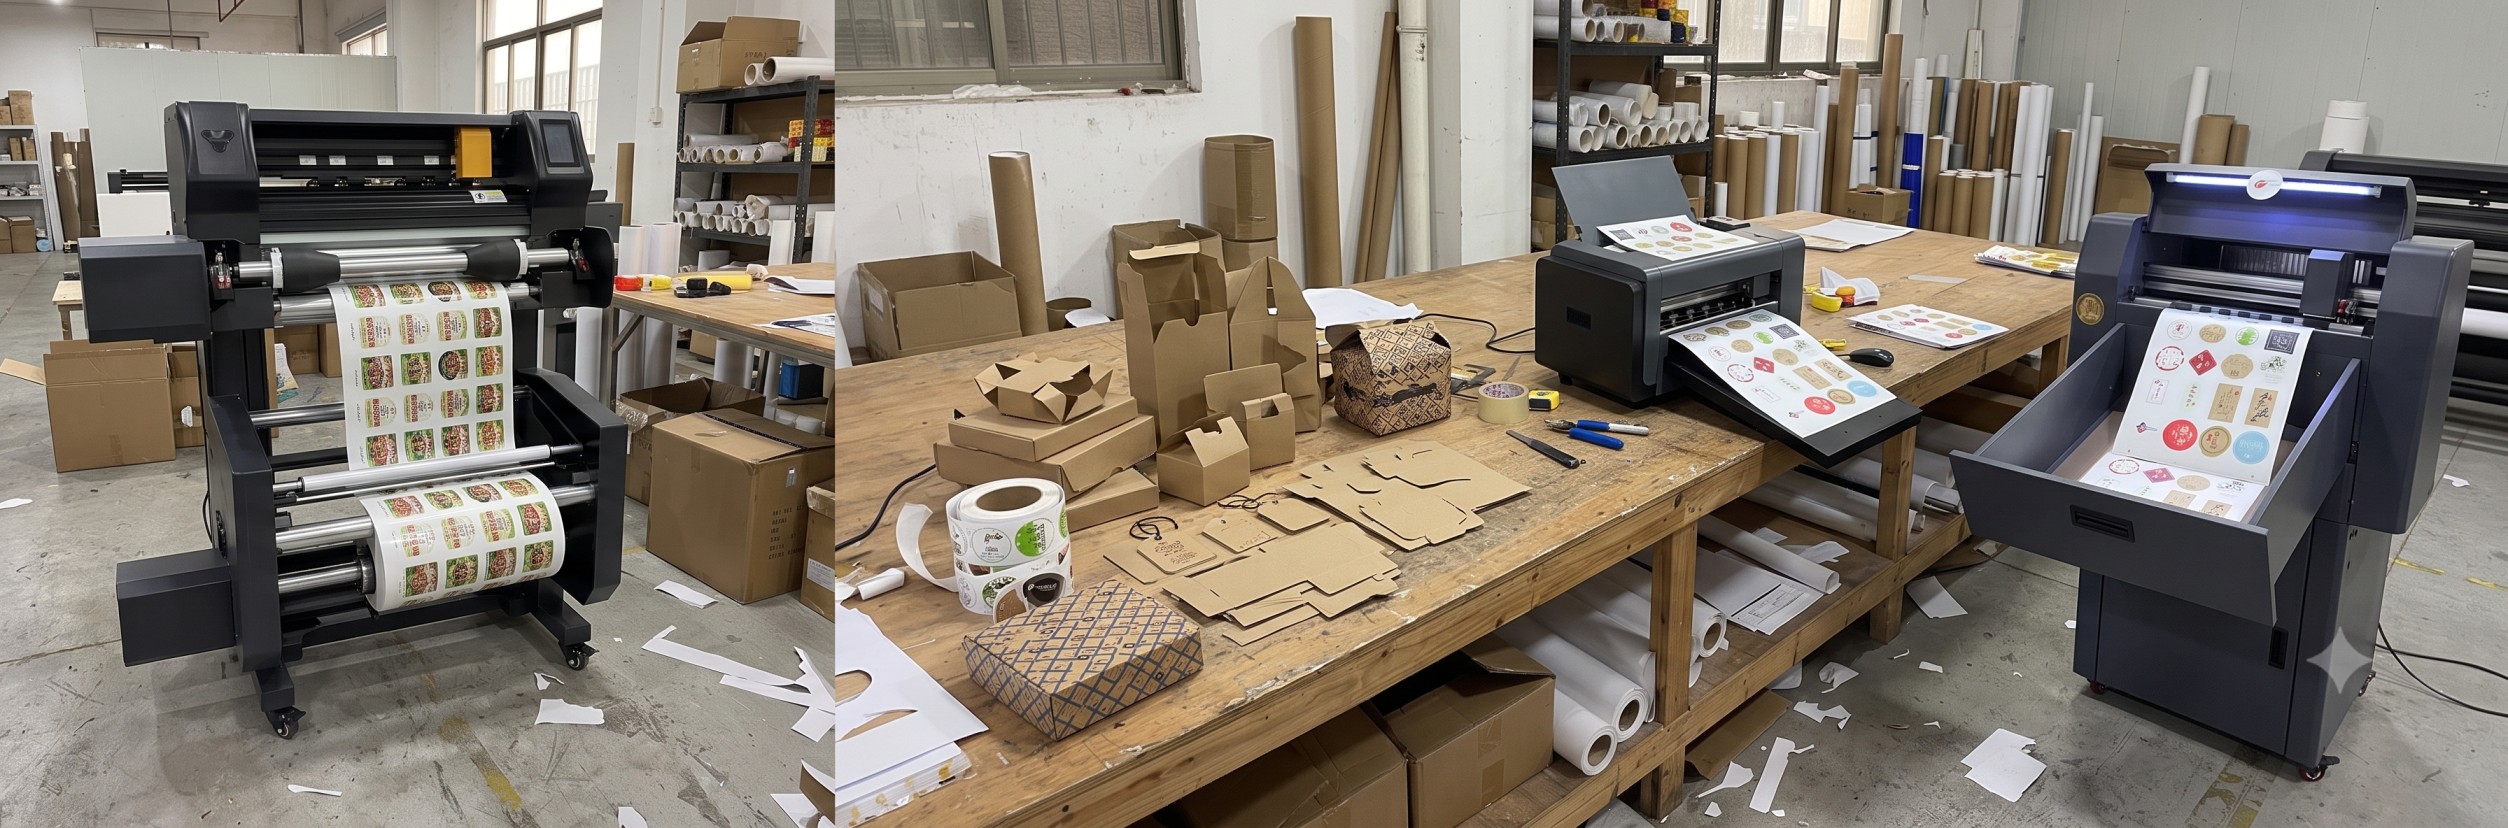
Where volume meets repetition
The auto feeder shines when the same or similar jobs repeat. These are the workloads where shops see the payback first.
- Bulk sticker runs: the same logo or design cut hundreds of times — queue it and let it run
- Label production: product and shipping labels in continuous rolls
- HTV names and numbers: sports kits and uniforms in batches — name after name, no re-feeding
- Long vinyl banners and strips: continuous cutting across metres of material
- Print and cut batches: with an ARMS optical eye, printed rolls contour-cut job after job
- Overnight runs: load a big queue, let the machine work when the shop is quiet
One caution: unattended does not mean unsupervised forever. Check the first few cuts of every new job, keep the take-up path clear, and let the machine run once the job proves itself.
Best for: any shop whose bottleneck is feeding vinyl, not designing jobs.
Specs that matter on an auto feeder cutting plotter
The cutting specs matter as always, but the feeder adds its own numbers. Check these before you compare prices.
| Spec | Why it matters | What to check |
|---|---|---|
| Roll weight capacity | How heavy a vinyl roll the feeder can carry | Full 50 m rolls are heavy — match capacity to your roll size |
| Roll diameter limit | Largest roll the cradle accepts | Bulk rolls have bigger cores and diameters |
| Take-up reel type | How finished work is collected | Front or rear take-up, and whether it handles cut pieces or full backing |
| Feed accuracy | Alignment job after job | Repeat feed should land within a millimetre — ask for a repeat demo |
| Cutting width | Sheet and job size | Common: 24 in, 34 in, 44 in bed widths |
| ARMS optical eye | Print and cut capability | Essential if printed rolls are part of your plan |
Quick rules
- A feeder that sags under a full roll causes drift — match roll weight capacity to the rolls you actually buy.
- Repeat-feed accuracy is the whole point: watch ten consecutive jobs in the demo, not one.
- Check the take-up direction — rear take-up keeps long jobs flowing; front collection suits short pieces.
- Pinch roller and grit shaft condition matters more on auto — worn rollers slip during long unattended runs.
Auto feeder vs standard cutting plotter
| Feature | Auto feeder plotter | Standard plotter |
|---|---|---|
| Vinyl feeding between jobs | Automatic | Manual, every job |
| Unattended long runs | Yes, with take-up reel | No, operator needed |
| Bulk repeat jobs | Queue and walk away | Feed each copy by hand |
| Alignment consistency | Machine-controlled repeat | Depends on operator |
| Footprint and price | Larger, higher | Smaller, lower |
| Best for | Volume production shops | Small shops, short mixed jobs |
The honest math: if an operator spends two hours a day just feeding and collecting vinyl, the auto feeder returns that time every single day. Small shops with mixed short jobs save little and should spend the difference on a better blade supply instead.
Auto feeder cutting plotters available in India
Auto feeder versions are usually offered across the same width classes as standard plotters. Match the width to your material stock first, then compare feeder capacity.
| Class | Cutting width | Typical use with auto feed |
|---|---|---|
| Compact auto feeder | ~24 in | Bulk stickers, labels, HTV batches |
| Mid auto feeder | ~28–34 in | Sticker sheets, longer vinyl runs, print and cut rolls |
| Wide auto feeder | ~44 in and up | Continuous banners, full-width production runs |
What to check before you buy
- Auto feeder included in the package or sold as an add-on — confirm in the quote
- Roll weight and diameter capacity against the rolls you buy
- ARMS contour eye if printed material will run through it
- Repeat-feed accuracy demonstrated on ten consecutive jobs
- Spare blades, strips, and pinch rollers stocked locally — long runs consume them faster
- Demo with your own bulk file and your own roll, not a showroom sample
A simple start: a 24 in or 28 in auto feeder plotter covers most bulk sticker and HTV work. Move to 34 in or 44 in when full-width rolls and long banner runs become routine.
How to choose and set up an auto feeder cutting plotter
- Count your real volume. If feeding vinyl eats an hour or more a day, the auto feeder pays. If not, stay standard.
- Match the width to your rolls. The bed must take the full material width you buy, with margin.
- Check feeder capacity. Weigh your heaviest regular roll and confirm the cradle and take-up can carry it.
- Demand a repeat demo. Watch ten consecutive jobs feed, cut, and take up — alignment should hold every time.
- Confirm the ARMS eye if you print and cut, and cut your own printed file in the demo.
- Set up the workflow. Build a job queue for your top repeating designs so operators send batches in one click.
- Service the wear parts. Blades, strips, and pinch rollers on an auto feeder work harder — keep spares and check rollers monthly.